Digitaltrends
1M
117

Image Credit: Digitaltrends
How to install an AMD processor
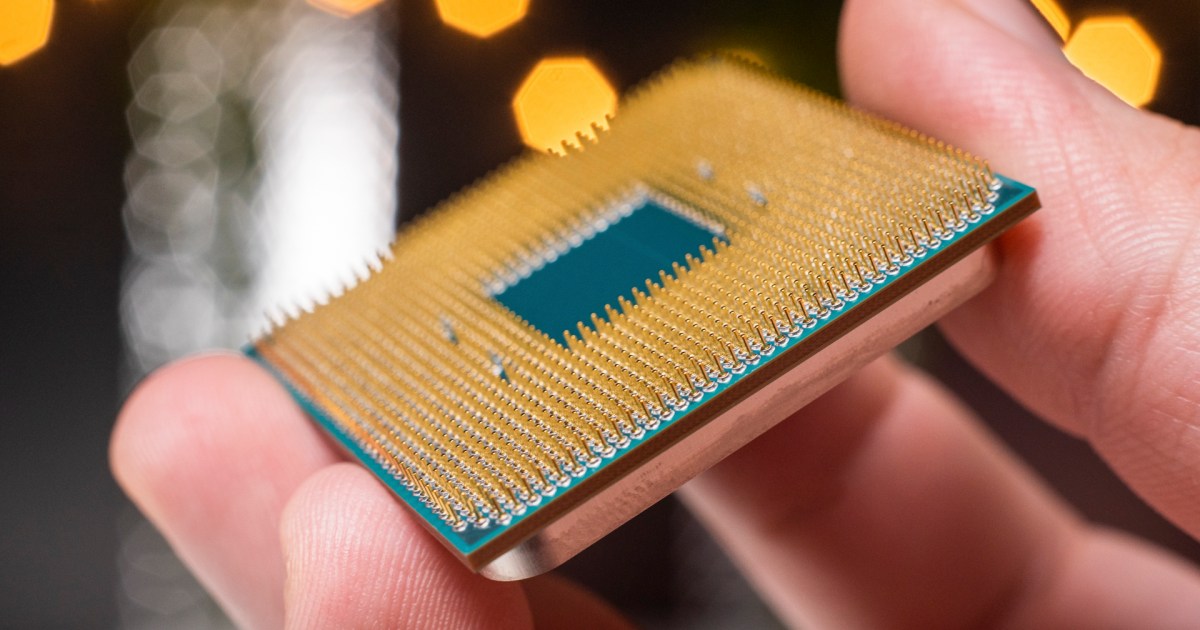
- Installing an AMD processor is a little different to installing an Intel one, because the pins are on the chip itself.
- To be prepared, make sure you have everything you need handy before you start, including a motherboard, a CPU, a cooler, a Phillips screwdriver, and some heat paste.
- Before starting, ensure the work area is clean and clutter-free and that you use an anti-static wristband or work on a non-conductive surface.
- Make sure you know where the CPU socket is situated on your motherboard before unpacking the new CPU and consult the manual for visual reference.
- Identify the golden triangle on the corner of the AMD CPU and align it with the indented triangle on the motherboard’s CPU socket.
- When installing the cooler, the thermal paste or heat pad transfers heat from the CPU to the cooler, and it is best to use a pea-sized amount in the middle.
- Be careful with heatpaste placement, and avoid getting any on the underside of the CPU or any of the ports in the socket.
- Once the heat transfer material is in place, use a screwdriver to screw the cooler in place slowly using a cross pattern.
- Plug the cooler’s fan header into the respective slot on the motherboard designating CPU Fan or similar.
- After installation, test the CPU, use a temperature sensing application such as AMD's Ryzen Master or HWInfo to ensure the CPU is cooled properly.
Read Full Article
7 Likes
For uninterrupted reading, download the app