A naukri.com initiative
TechViral
1M
363
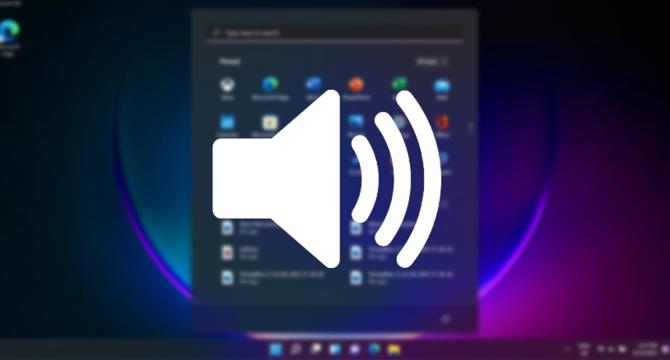
Image Credit: TechViral
How to Normalize Volume on Windows 11
- Windows 11 offers a Loudness Equalization feature to normalize volume output based on human hearing perception.
- Here's how to enable Loudness Equalization in Windows 11:
- Via Settings: Access Settings > System > Sound > More Sound Settings > Playback Device Properties > Enhancement tab > Check Loudness Equalization option.
- Via Control Panel: Open Control Panel > Hardware and Sound > Sound > Playback Device Properties > Enhancements tab > Enable Loudness Equalization.
- Alternatively, use third-party audio equalization software for volume normalization if access to Windows settings is limited.
- For troubleshooting Loudness Equalization missing in Windows 11, update sound drivers through Device Manager.
- Expand Sound, Video and game controllers in Device Manager, update sound device drivers, and search for drivers automatically to resolve the issue.
- Ensure to keep drivers and the operating system up to date for optimal volume control.
- Normalizing volume on Windows 11 can enhance audio quality on a PC.
- The process can improve user experience by reducing perceived volume differences.
- Accessing settings or utilizing third-party software are effective methods to enable volume normalization in Windows 11.
- Troubleshooting steps for Loudness Equalization missing involve updating sound drivers and ensuring system compatibility.
- Following the outlined steps will help users achieve balanced volume output on Windows 11.
- Enabling Loudness Equalization is essential for a consistent audio experience on Windows 11 devices.
- Maintaining sound drivers and system updates is crucial for resolving volume control issues.
- Loudness Equalization facilitates a more enjoyable listening experience by leveling audio output.
- By adhering to recommended procedures, users can optimize volume settings on Windows 11 devices.
Read Full Article
21 Likes
For uninterrupted reading, download the app